Applies To: Visual Studio Code
Have you ever opened a file in VS Code and there was no magic highlighting? Your first response is likely to weep and curse the heavens. Fortunately, the heavens have heard your cries and you can quickly fix things with just a couple of settings tweaks.
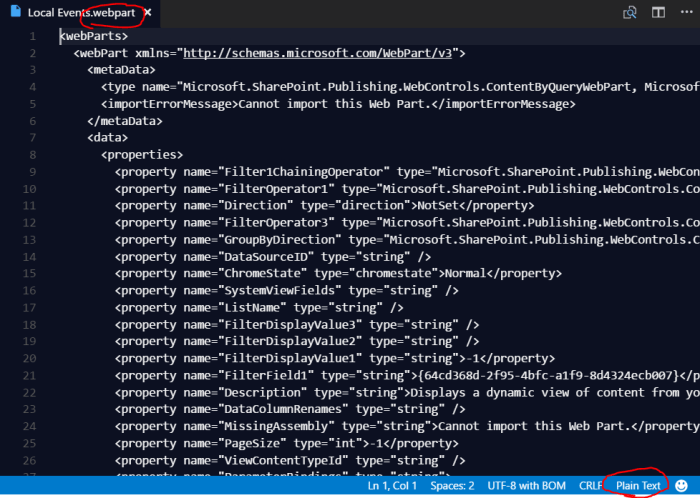
This can happen if you decided to use your own proprietary filetype for some standard format (like XML) or more likely you are trying to open someone else’s proprietary filetype for some standard format (like XML).
All you need to do is clue VS Code into how it should treat those types of files. This is done in your user settings. To open your settings just hit Ctrl+[Comma] or you can open them from the File > Preferences > Settings menu option.
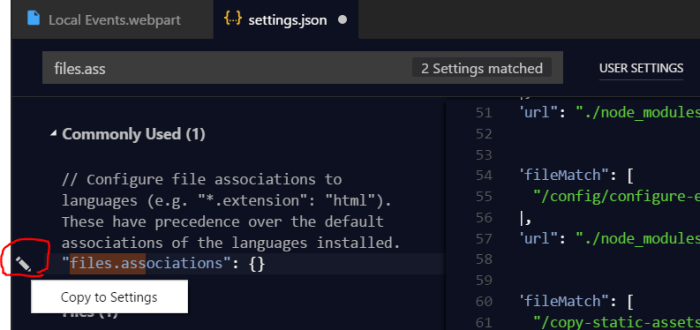
The setting we are looking for is files.associations. You can find this by typing it in the Search Settings box. To edit the setting, just click the pencil icon next to it and choose Copy to settings. This will copy the setting over to your user settings file where you can add your values:
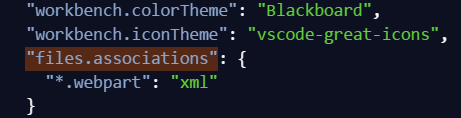
Each association is just a key/value pair. You can have as many of these as you like (just separate them with a comma). The key is a glob pattern that will match on the full filename. If you include a / then it will actually match on the full file path. For simple file extensions matches, just use a wildcard (*) followed by the extension. Here’s what mine looks like for .webpart files:
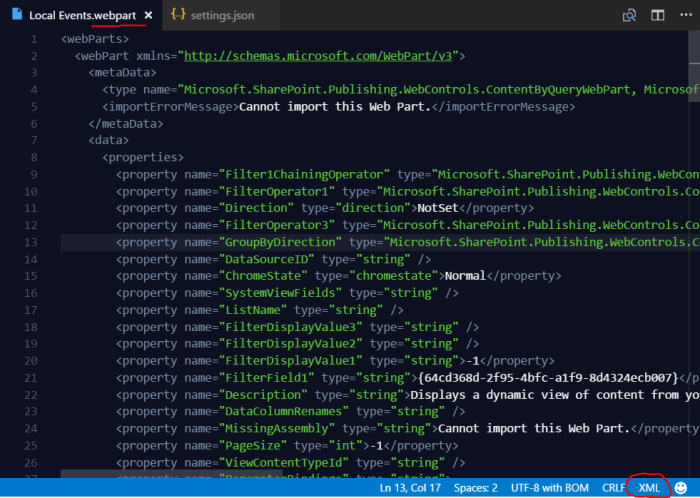
As soon as you save and go back to your file you’ll see the magic applied:
You can read more about how all this works here.
Also, for those that didn’t spot it above, my pretty colors are from the Blackboard theme.
