Creating a button with Column Formatting to launch a flow is a fantastic way to make actions obvious (not hidden in the Flow menu). If you have a list item flow, I strongly recommend doing this (just copy, paste, and tweak the sample). But what if you want to go further? What if you have multiple flows for list items and you want to help guide your users through this more complex (but relatively common) scenario?
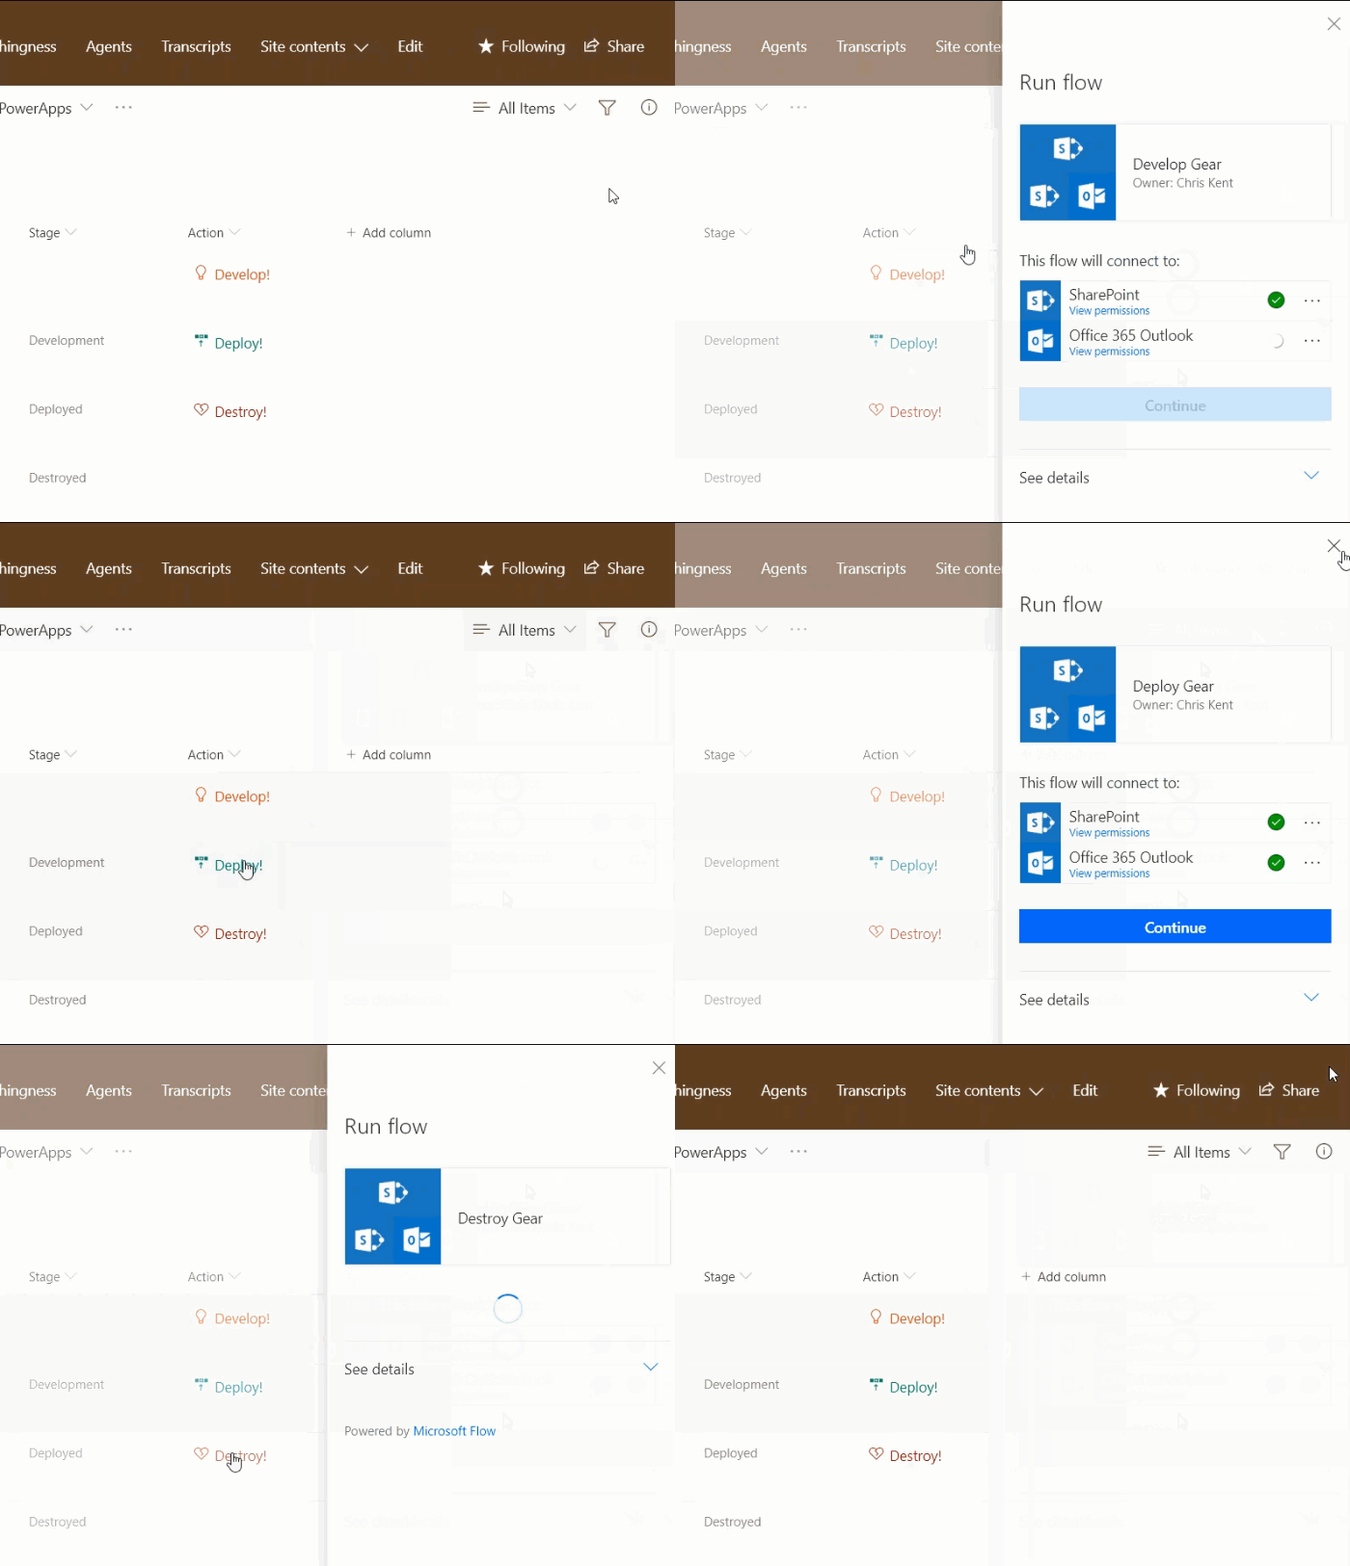
Good news! List formatting expressions make it possible to only show the flow launch button(s) that make sense based on the values of the item! Here’s what we’re building:

In the list above, we have 3 separate flows (Develop, Deploy, and Destroy). We want to only prompt the user to launch one of these based on the value of the Status column in the list item. You could argue that it might make more sense to launch a single flow that handles the conditional logic directly. Sure, but customizing the text, icon, and color to make it obvious to the user what action they are taking is still an awesome thing to do.
Conditional Logic Across Properties
In our sample, we want to conditionally change the color, icon, text, visibility, as well as the flow launched. This brings us to a very common scenario in List Formatting: applying the same logic to multiple properties.
It would be awesome to apply your logic to entire elements, but in List Formatting it is only possible to conditionally apply the value of a property. This means you can’t conditionally include/exclude a property or element. These properties/elements have to be included with their individual values conditionally set.
So, if you want to set a style property based on a condition, like the text color, you have to include the property and set its value regardless. Generally, you handle this by setting up an expression like this: “color”:”=if(@currentField>2,’red’,”)”
You cannot, however, apply that same logic to the inclusion of the color property itself.
Conditional Logic for Elements
Although you must include all the elements and properties whose values you want to set (even if only in some conditions), you can use the style display attribute to remove entire elements by simply setting the value to none. This is how we remove the entire button when the status is ‘Destroyed’ in our sample (line 15 below). We don’t want to prompt the user to launch any flow, so we simply remove the button altogether.
You can extend this pattern further by creating a placeholder top element of a div with children. The individual child elements can be turned on or off by conditionally setting the display property. That’s not what we’re doing here, but it’s something to keep in mind.
Conditional Flows
generic-start-flow-conditionally:
{
  "$schema": "https://developer.microsoft.com/json-schemas/sp/column-formatting.schema.json",
  "elmType": "button",
  "customRowAction": {
    "action": "executeFlow",
    "actionParams": "='{\"id\": \"' + if([$Stage]=='','b60a26d3-fd87-4947-9d1d-344cb31d953a',if([$Stage]=='Development','3a27a39c-0ec9-4342-8fe3-bfb37fefc3da','3091d383-f8ed-48da-9962-bd7c24e70688')) + '\"}'"
  },
  "attributes": {
    "class": "='ms-fontColor-' +if([$Stage]=='','orangeLight',if([$Stage]=='Development','teal','redDark'))"
  },
  "style": {
    "border": "none",
    "background-color": "transparent",
    "cursor": "pointer",
    "display": "=if([$Stage]=='Destroyed','none','inherit')"
  },
  "children": [
    {
      "elmType": "span",
      "attributes": {
        "iconName": "=if([$Stage]=='','Lightbulb',if([$Stage]=='Development','Deploy','HeartBroken'))"
      },
      "style": {
        "padding-right": "6px"
      }
    },
    {
      "elmType": "span",
      "txtContent": "=if([$Stage]=='','Develop!',if([$Stage]=='Development','Deploy!','Destroy!'))"
    }
  ]
}
You can see that we are applying each of our elements conditionally by comparing the value of the Stage column (also present in the view). For the flow, we build the actionParams conditionally by building the escaped JSON value and swapping the ID value in and out based on the stage (line 6).
You can customize this sample by adding additional conditions, changing the comparison column (use the internal name), and the ID(s) of the flows themselves.
Getting a Flow’s ID
To use the code, you must substitute the ID of the Flow(s) you want to run. The IDs are contained within the expression inside the customRowAction attribute inside the button element.
To obtain a Flow’s ID:
- Click Flow > See your flows in the SharePoint list where the Flow is configured
- Click on the Flow you want to run
- Copy the ID from the end of the URL (between flows/ and /details)

Update
See this demoed on the PnP Call (Live from MVP Summit):
Love List Formatting?
Join the Bi-weekly (every other Thursday) SharePoint Patterns and Practices special interest group for general development call where I will be presenting a new List Formatting Quick Tip on each call!
Also, come get the full picture in my sessions about List Formatting at the SharePoint Conference in Las Vegas in May, or the European Collaboration Summit in Germany in May:
- Use KENT to save $50 for the SharePoint Conference
- Register for the European Collaboration Summit


